Sometimes, you need a quick gift box for a last-minute gift. Keep some of Stampin’ Up!’s Kraft Gift Boxes on hand. (Find them on page 140 of Stampin’ Up!’s 2022-2023 Annual Catalog.) You receive ten of them for $10. During SaleABration — now through August 31, 2002, receive a package free with a $50 order.
They’re very easy to assemble. Watch the video below for a quick visual.
They’re large enough to hold full-size cards and envelopes as well as other small gifts. And, you can decorate them any way you want to match the gift or the holiday for which you’re giving. Or, don’t decorate them at all; they have a peekaboo window to showcase what’s inside. Adorn with a ribbon and a gift tag, and you’re good to go!
Season of Chic Gift Box
Here are the other products I used to create this box:
Gingham Cottage 12 x 12 Designer Series Paper–Pumpkin Pie Design (found in the July-December 2022 Mini Catalog)
Season of Chic Stamp Set
Shaded Summer Stamp Set
Stylish Shapes Dies
Layering Circles Dies
Early Espresso Faux Suede Trim
Linen Thread
Champagne Rhinestone Jewels
Pumpkin Pie, Crumb Cake, and Early Espresso Ink
I created matching note cards to include in this gift box with the Kraft Note Cards and Envelopes.
Gift Box Video
Thanks so much for visiting my blog today. I hope you’ve been inspired to get into your craft room and make something today.
Need more inspiration? Sign up to receive my free email newsletter. I send two to three emails each month that include a free tutorial, video, and updates on Stampin’ Up! news. Click here to subscribe. Then watch your email for a confirmation from AWeber confirming you really want to receive my newletter.
Kim
Click on any of the graphics below to purchase the supplies needed to create the cute gift box featured above.
Welcome to Team Stamp It’s October blog hop. We are so glad you joined us! This month we feature holiday cards and projects, including Thanksgiving and Christmas. Be sure to visit all of the blogs on the hop. Leave a comment on each with the hashtag #stampitcontest to enter to win a free Hello Dear Friend card kit. See the list of hoppers below.
I love the background of this card. It features the rubbing alcohol and Stampin’ Blends technique. See the video below for a look at how this technique works.
Basically, choose the Stampin’ Blends colors you want to use. Scribble or color on a piece of Vellum Card Stock. For this card, I used Crushed Curry, Cherry Cobbler and Crumb Cake. Then, with a paint brush, drip 91 percent rubbing alcohol onto the colored parts. Watch as the ink spreads and merges to make a cool background. Once it’s dry, you can use the vellum for a variety of card-making purposes. You’ll get a different result each time you try this. Experiment and have fun with it!
I hope you’ve found some inspiration in today’s project. Be sure to visit all of the blogs on the hop and leave a comment. You could win a Hello Dear Friend card kit.
Congratulations to last month’s winner: Laura Klinkler.
List of Blog Hoppers
Click on the links below to visit participating blogs:
Click on any of the photos below to shop directly from my online store:
I pulled together two stamp sets from Stampin’ Up!’s 2021-2022 Annual Catalog to create this Thanksgiving card — Beauty of Friendship and Banner Year. The card goes together easily and quickly. Enjoy the free tutorial below.
INK – Cajun Craze (147085), Early Espresso (147114)
OTHER – Stitched Rectangle Dies (151820), Gold 3/8” Fine Art Ribbon (154561), Champagne Rhinestone Basic Jewels (151193), Mini Glue Dots (103683), Stampin’ Seal (152813), Stampin’ Dimensionals (104430), Paper Snips Scissors (103579), Stampin’ Cut & Emboss Machine (149653)
Cutting & Scoring:
Basic White – 8 ½” x 5 ½” scored at 4 ¼”, 5 ¼” x 4”, 3 ¾” x 2 ½”
Gold Foil – ¼” x 5 ¼” (2)
DSP – 5 ¼” x 1 ½”
Ribbon – 4”
Instructions:
Die cut the 3 ¾” x 2 ½” Basic White Card Stock with the Stitched Rectangle Die that measures approximately 2 ¼’ x 3 ½”
Stamp the tree trunk/branches image with Early Espresso ink onto the die cut rectangle.
With Cajun Caze ink, stamp the large, more solid-looking foliage stamp on top of the trunk, creating a tree image. Set aside.
Choose the “Happy Thanksgiving” sentiment from the Banner Year stamp set and stamp with Cajun Craze ink in the bottom, right-hand corner of the 5 ¼” x 4” piece of Basic White card stock.
Tape the DSP piece (pattern shown above) to the 5 ¼” x 4” Basic White card stock, with the top edge about 1 ½” down from the top. Add each Gold Foil strip, one on top of the DSP and one on the bottom. These are nudged close to the DSP, but do not overlap.
Fold the 8 ½” x 5 ½” Basic White card stock in half. Adhere the 5 ¼” x 4” stamped and decorated piece on top of this.
Add Stampin’ Dimensionals to the back of the tree piece and place on the card front, on the left-hand side.
Tie a knot in the ribbon and place on the tree image with a Glue Dot. Trim ribbon as necessary.
Add three Champagne Rhinestone Basic Jewels to the card front.
Thanks so much for stopping by today.
Get More Inspiration
Looking for more inspiration? Subscribe to my free email newsletter by clicking here. (Then be sure to check your email for an email from Aweber confirming you really want to receive my emails!) I send two to three emails each month that include a free tutorial, video, updates on Stampin’ Up! news and products, and special offers to newsletter subscribers.
Kim
Click on any of the graphics below to shop directly from my online store.
I grew up in Fargo, North Dakota, and spent most of my life in the Midwest. Fall always brought the changing colors of the trees and leaves, offering gorgeous views. Since moving to Arizona more than two years ago, fall looks a little different. We still see a few color variations, but not as brilliant as I’m used to.
Even though I don’t experience a “traditional” fall, I still love to create cards and projects commemorating the season that follows summer. For this card, I used Stampin’ Up!’s Picture This Dies in conjunction with the Banner Year Stamp Set.
Picture This Dies Fall Card
This set of two dies offers a unique way to use our rubber stamps. I’ve had so much fun filling the spaces with a variety of images and sentiments. See this post for a variety of other card using the die set.
For me, the Banner Year Stamp Set works perfectly. I can showcase the smaller images, and it covers Halloween, fall, winter, and Christmas.
In addition, I also used the Timber Embossing Folder and a variety of ink pads to create this fun, fall card. Look for a list of supplies at the end of this post.
Also, be sure to watch the video below to see how this card came together.
Thanks so much for stopping by today. Are you looking for more paper crafting and card-making inspiration? Subscribe to my free, email newsletter by clicking here. I send two to three newsletters a month that include a free tutorial, video, tips and tricks, and updates on Stampin’ Up! specials and products.
Kim
Click on any of the graphics below to shop directly from my online store.
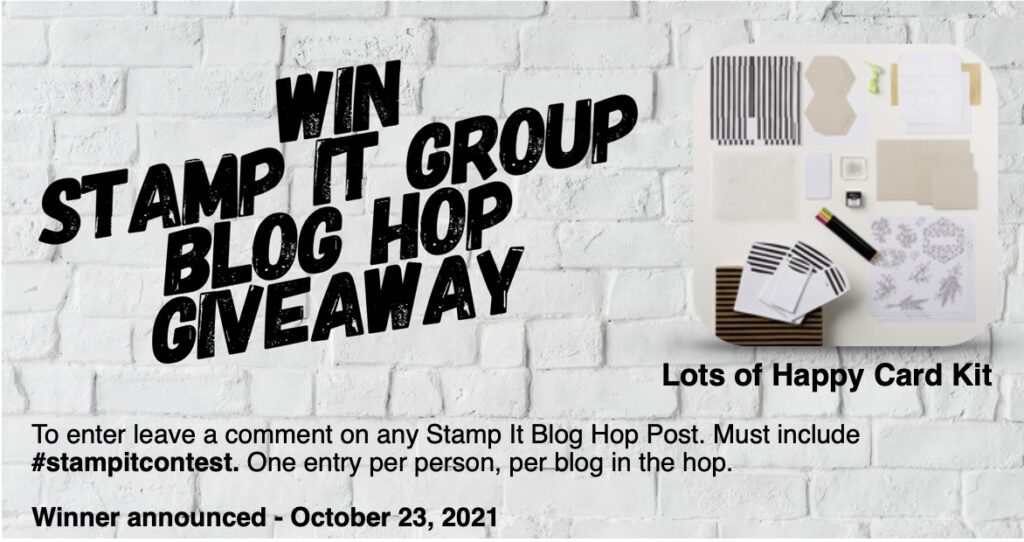
Welcome to Team Stamp It’s monthly blog hop! Thanks for taking the time to join us. Today, we share Halloween- and fall-themed, handmade greetings cards and paper crafting projects. I hope you find inspiration as you visit each blog on the hop using the list at the end of this post. Be sure to leave a comment with the hashtag #stampitcontest. You could win a Lots of Happy Card Kit.
My card features a host of products and a fun technique, most importantly the rubbing alcohol and Stampin’ Blends technique. I love the results this technique produces. See this additional blog post for other examples of this.
Rubbing Alcohol and Stampin’ Blends Technique
Here are some basic directions to achieve this cool background.
Scribble or color with your choice of Stampin’ Blends on a piece of Stampin’ Up!’s vellum.
Pour some 91 percent Isopropyl Alcohol into a small container.
Dip a paint brush into the alcohol and drip and/or touch the liquid to the colored markings.
Watch it do its magic or use a straw or your breath to move the colors around.
Let it dry.
Once the vellum is dry, I adhere a piece of Stampin’ Up!’s Adhesive Sheets to the back of the vellum.
I remove the adhesive backing and attach it to a piece of card stock. The example above shows Basic White.
For today’s card, I die cut the piece with a layer from the Stitched Rectangle Dies.
Use the piece any way you like!
Playful Alphabet Halloween Card
I also used a few other products to complete this design:
Here’s a quick video to help you understand the process.
Remember, visit all of the blogs on the hop and leave a comment with the hashtag #stampitcontest. You could win the Lots of Happy Card Kit.
Congrats to last month’s winner: Linda Danis
List of Blog Hoppers:
Ready for more inspiration? Subscribe to my free email newsletter. I send two to three emails each month that include a free tutorial, video, and Stampin’ Up! updates. Click here. Then, remember to check your email for a confirmation from AWeber.
Click on any of the graphics below to shop directly from my online store 24/7. Please let me know if you have any questions about this project or others on my blog.
Sign up for my newsletter and get a free tutorial!
Get Updates!
Join our mailing list to receive the latest updates from Kim!
You have Successfully Subscribed!
Current Catalogs
Follow Me
Categories
Disclaimer
The content in this blog is the sole responsibility of Kim Quade as a Stampin’ Up!® Independent Demonstrator. The use of and content of classes, services or products offered is not endorsed by Stampin’ Up!